Changing your vacuum cleaner bag regularly is key to maintaining suction, preserving air quality, and protecting your vacuum’s motor. While most models follow a similar process, a few design differences such as how bags seal or how compartments open make it worth knowing what to expect. The steps below cover the universal method.
Step 1: Unplug and Prepare the Vacuum
Before beginning, ensure the vacuum is powered off and fully unplugged. This prevents any chance of electrical hazard and gives you a clear workspace to access the bag compartment.
- Retract the power cord fully, especially if your vacuum has an automatic rewind system.
- Remove the cord from storage hooks or clips if using an upright model.
- Position the vacuum on a flat, stable surface where you can open the housing without obstruction.
- Avoid pulling or yanking on any stiff cords. Older canister vacuums like those from Aerus-Electrolux may have fragile attachment points that crack easily under strain.

Step 2: Open the Bag Compartment
Access to the vacuum bag is usually behind a hinged door or lid, though the opening mechanism may vary slightly between models. Open the compartment slowly and carefully to avoid damaging latches or seals.
- Locate the compartment release. This may be a push-button, tab, or side-mounted latch.
- Lift or swing the lid open fully until it stays in place.
- Do not force the panel if it resists. Many vacuums, such as those by Sebo, use pivoting body frames instead of lift-up lids.
- Ensure nothing is obstructing the hinges or pressure seals.
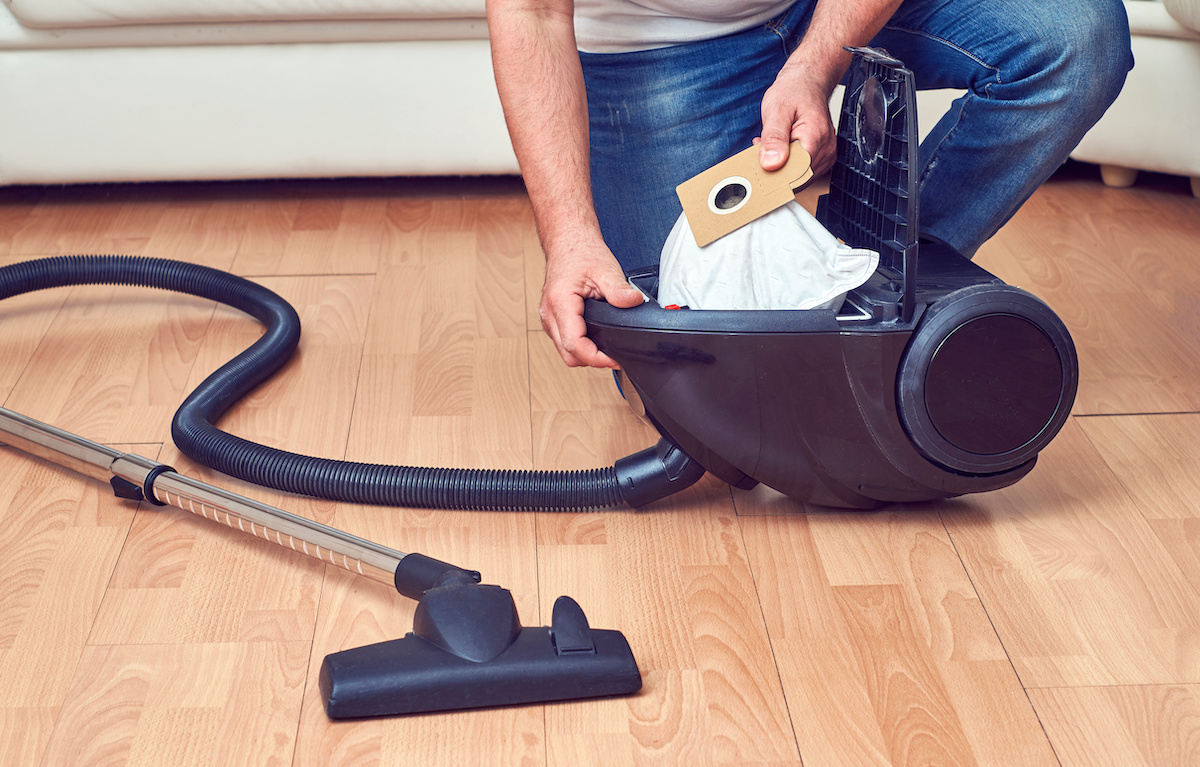
Step 3: Remove the Used Bag
Once the compartment is open, you’ll see the vacuum bag connected to an intake tube or bracket. Removing the old bag correctly prevents dust escape and prepares the housing for a clean replacement.
- Grip the collar or mounting tab of the bag firmly and pull it straight out.
- Tilt the bag carefully to avoid releasing trapped debris.
- If your bag does not have a self-sealing mechanism, fold over the opening or use an adhesive flap to close it.
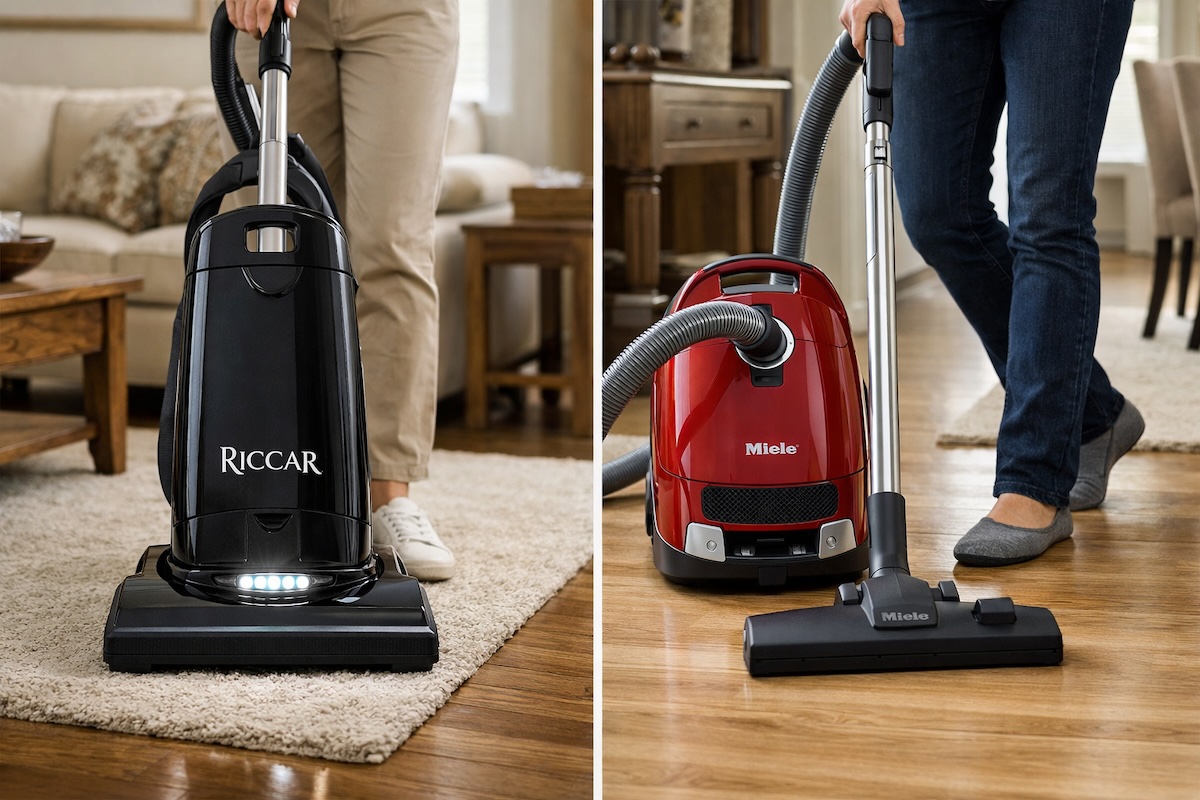
- Miele bags seal automatically when removed, making cleanup easier. Riccar and some Sebo models, by contrast, require manual sealing to prevent leakage.
Step 4: Check the Housing and Filter Area
Before installing the new bag, it’s worth inspecting the interior of the compartment. Dust buildup here can reduce airflow or contaminate the filter system.
- Wipe down the bag cavity using a dry cloth or soft brush.
- Clear any debris near the intake nozzle or seal track.
- Inspect any nearby filters such as HEPA, micro, or foam for discoloration or blockage.
- On some Miele and Sebo models, the pre-motor filter is directly behind the bag and may be user-replaceable.
Step 5: Insert the New Bag
Installing a new bag is straightforward, but alignment matters. Bags are designed to fit one way only. Forcing them can damage the mounting bracket or leak dust into the housing.
- Align the new bag’s collar with the intake port or guide rails.
- Press or slide it into place until it clicks or fits snugly.
- Make sure the bag is sitting flat, with no pinching or folding.
- Avoid over-handling the bag’s body. On some Electrolux designs, pushing on the bag can dislodge it before the panel is even closed.
Step 6: Close the Compartment Securely
Once the bag is in place, close the lid or door fully. Some models have built-in checks to ensure the bag is properly seated before allowing the panel to lock.
- Swing the panel closed and press gently until it clicks.
- If resistance is felt, recheck the bag alignment.
- Sebo uprights may refuse to close unless the bag bracket is fully engaged.
- Confirm that no part of the bag is trapped in the door seal.
Step 7: Dispose of the Used Bag Properly
Vacuum bags trap fine dust, allergens, and contaminants. Handle disposal carefully to avoid releasing particles back into the air.
- Seal the bag completely before removing it from your workspace.
- Use the vacuum’s original packaging or a trash bag for disposal if needed.
- Wash your hands afterward or use gloves if the bag appears overfilled.
- Some brands include built-in flaps or plastic shields, which make this step cleaner and more contained.

Step 8: Test the Vacuum
After changing the bag, power the vacuum back on to confirm everything is seated correctly. Listen for airflow, suction strength, and any unusual noise.
- Run the vacuum for 10 to 20 seconds without load.
- Check that the bag-full indicator reads empty or has reset.
- On Riccar models with mechanical indicators, a few seconds of airflow may be required before the reading adjusts.
- If suction seems weak, reopen and check the bag’s seal or hose connection.
Keeping Your Vacuum Performing at Its Best
Changing the bag is a direct way to improve how your vacuum performs day to day. Clean airflow paths, sealed filters, and a properly fitted bag maintain suction and filtration. Miele canisters, Sebo uprights, Riccar units, and Aerus models all benefit from this type of routine maintenance. These steps support smooth operation and help maintain a clean and healthy environment.
Bag changes are simple to perform. Some machines may also need professional attention due to reduced performance, unusual noise, or worn components. Edison Vacuum provides support in those cases.
Located in Brentwood, Tennessee, Edison Vacuum has served the Middle Tennessee community since 1960. We offer vacuum sales, repair services, and accessories for a wide range of brands. Our team handles bag replacements, central vacuum installations, service calls, and other machine needs.
Contact us today or stop by the shop in Brentwood to schedule service, get product advice, or browse the best selection of vacuum solutions in Music City.