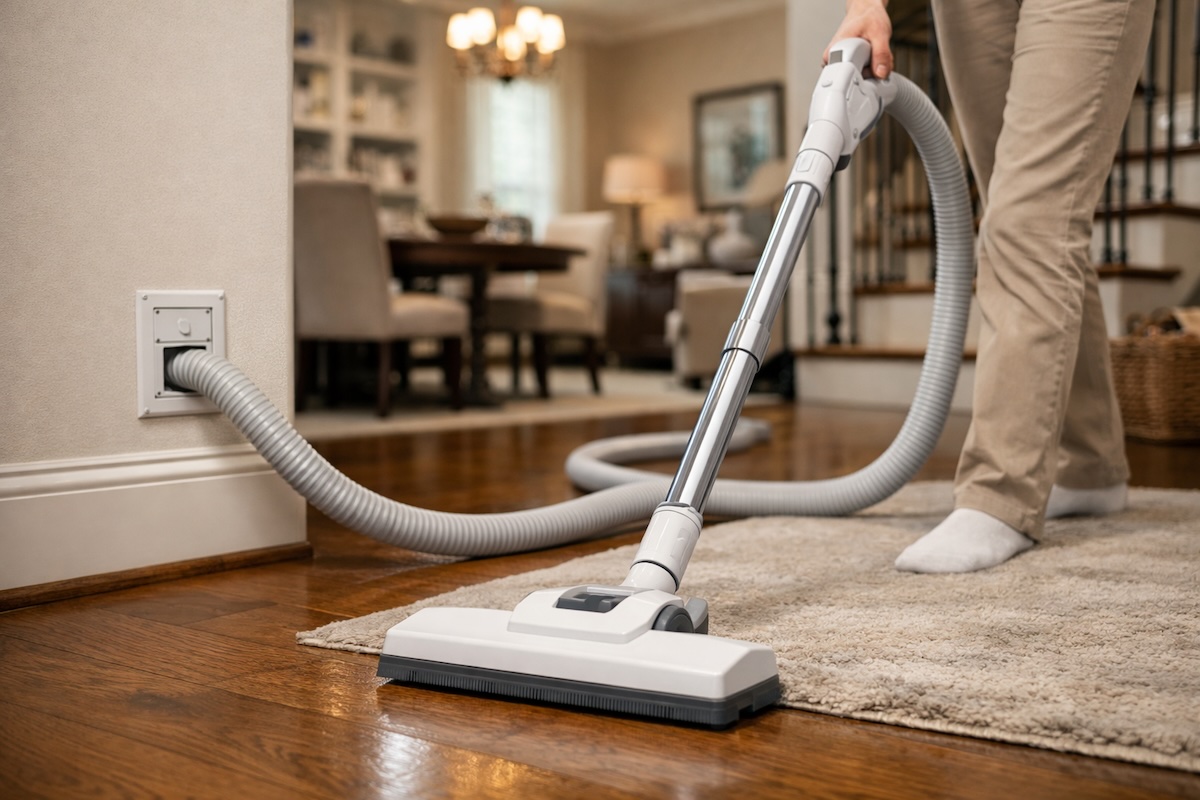
A vacuum that still powers on but suddenly stops pulling air is one of those problems that feels bigger than it usually is. The motor sounds healthy, lights come on, brushes spin, but the machine still acts like it has given up on its only job.
But before you assume the vacuum needs to be replaced, you can walk through a series of checks that can often solve this issue. And if the vacuum suction issue is stubborn, this is the moment when a professional repair shop can save you from wasting time troubleshooting and buying unnecessary parts.
1. Start With the Most Common Failure Points
Loss of suction almost always comes from air movement getting interrupted somewhere between the floor and the motor. Even a tiny disruption is enough to collapse performance. A wad of dust in the wrong bend, a filter that looks clean but is packed tight inside its fibers, or a small crack in a hose can change the entire airflow pattern. And once that happens, the vacuum no longer pulls air through the nozzle the way it is supposed to.
Tip: There are also situations you can run into where a vacuum has weak suction even though no obvious clog is present. That usually points to leaks in the system, worn seals, partially collapsed hoses, or a restriction so subtle you would never spot it by looking down the tube. Spotting the difference between an actual blockage and an airflow leak can be one of the trickiest parts of home diagnosis/troubleshooting, but they are a fairly straightforward fix at a vacuum cleaner repair shop.
1a. Check the Bag or Bin
If your vacuum uses bags, make sure the bag is not full or packed tightly with fine dust. A bag can look only half full but still be too dense for air to pass through. Bagless vacuums often hide compacted debris behind the visible layer in the canister. Empty it completely and give the inside a quick wipe so dust buildup does not choke the airflow.
1b. Inspect the Filters
Most modern vacuums rely on several filters. Some sit before the motor, others after it. When a filter clogs, the machine still runs but the air cannot travel through. Take these out and check for obvious buildup or mats of dust. Many pre-motor filters can be rinsed with water. Make sure they are completely dry before reinstalling them because moisture blocks airflow just as effectively as dirt.
1c. Look for Clogs in the Air Path
A vacuum can lose suction overnight from something as simple as a cotton swab or dog toy wedged at the right angle.
Check the hose first. Disconnect it from both ends, lift it, and let gravity help. If air will not travel through cleanly, you have a blockage somewhere inside. A straight broom handle, a plumbing snake, or even a length of stiff wire can help push debris out.

Then look at the lower air pathways around the brush head. Straws, Lego pieces, rubber gaskets, pens, and food scraps are all things vacuum shops pull out of the airway every single day.
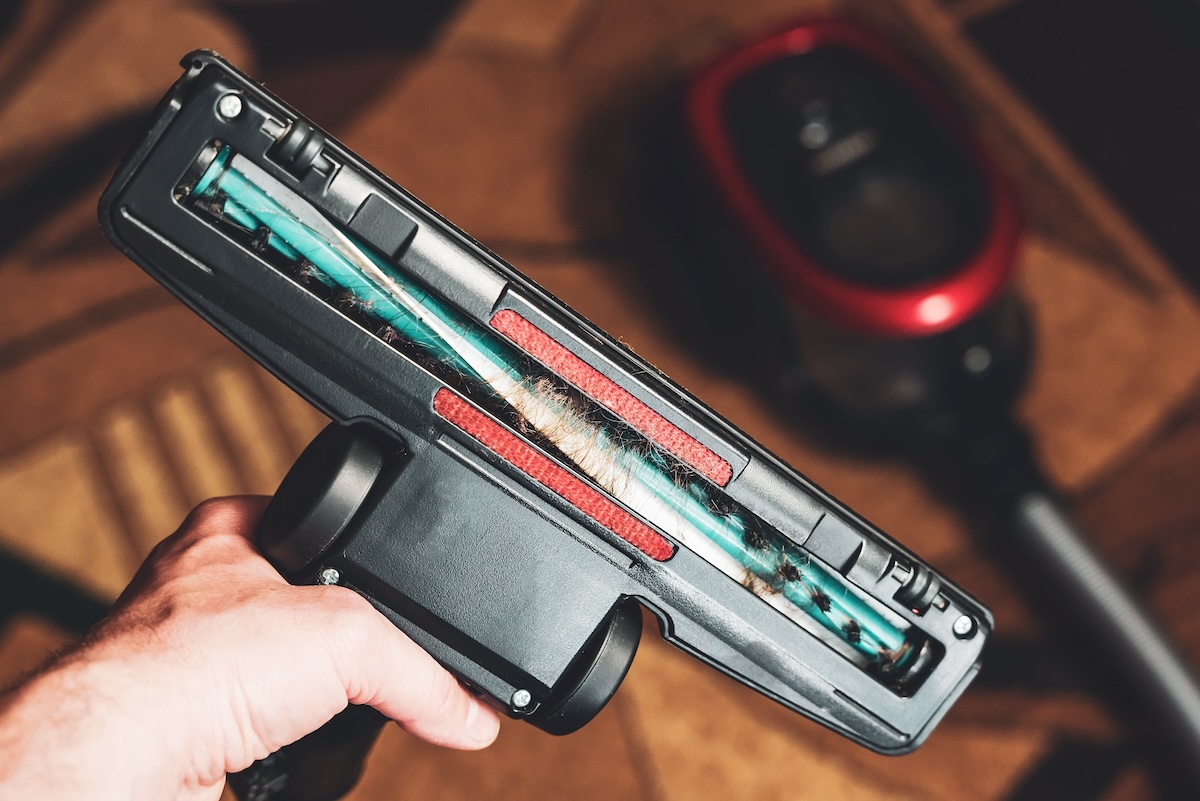
1d. Examine the Brush Roll
People often assume the brush roll affects only carpet agitation, but heavy tangles can slow the motor and interrupt airflow timing. Cut away any string or hair. Spin the brush roll by hand. It should glide smoothly. If it catches or feels gritty, the bearings may be worn.
Tip: A bound brush roll does not directly affect suction on all vacuums, but it can cause underperformance on machines where the brush housing must be open and flowing to maintain airflow.
2. Check for Leaks in the System
Not all suction problems come from clogs. Sometimes the vacuum is pulling air, but not from where it should.
2a. Inspect the Hose for Cracks
Brittle hoses split over time, especially near the ends where they flex. Even a pinhole is enough to reduce suction, forcing the vacuum to inhale air from the wrong place.
Flex the hose gently and listen for hissing. If the hose collapses when the vacuum is on, that may mean the inner lining is failing.
2b. Check Gaskets and Seals

Bag doors, canisters, and filter housings all rely on tight seals. A cracked gasket or a latch that no longer locks firmly will leak air. The motor then works harder without giving you useful suction at the nozzle. This is an area where taking it to your local vacuum cleaner repair shop is a good idea, because they can test pressure and identify weak points much faster than you can by trial and error.
3. Make Sure the Motor Is Able to Breathe
When the vacuum runs but does not pull, sometimes the issue sits behind the scenes.
3a. Overheated Motors
If the vacuum was used for a long stretch before the issue started, the motor may have overheated and tripped its internal protection system. Many vacuums are designed to scale back power or shut down parts of the airflow path when temperatures climb beyond a safe range.
Once the machine cools down fully, suction sometimes returns as if nothing happened. But if the same pattern shows up again the next time you clean, it means heat is building up somewhere in the system every time the motor is under load. That can come from a partially blocked airway, a worn bearing, a failing fan, or a filter that looks fine on the outside but is still restricting flow. At that point, the vacuum needs to be opened up and diagnosed professionally so the underlying cause can be fixed before the motor takes on long term damage.
3b. Failing Motor Fans
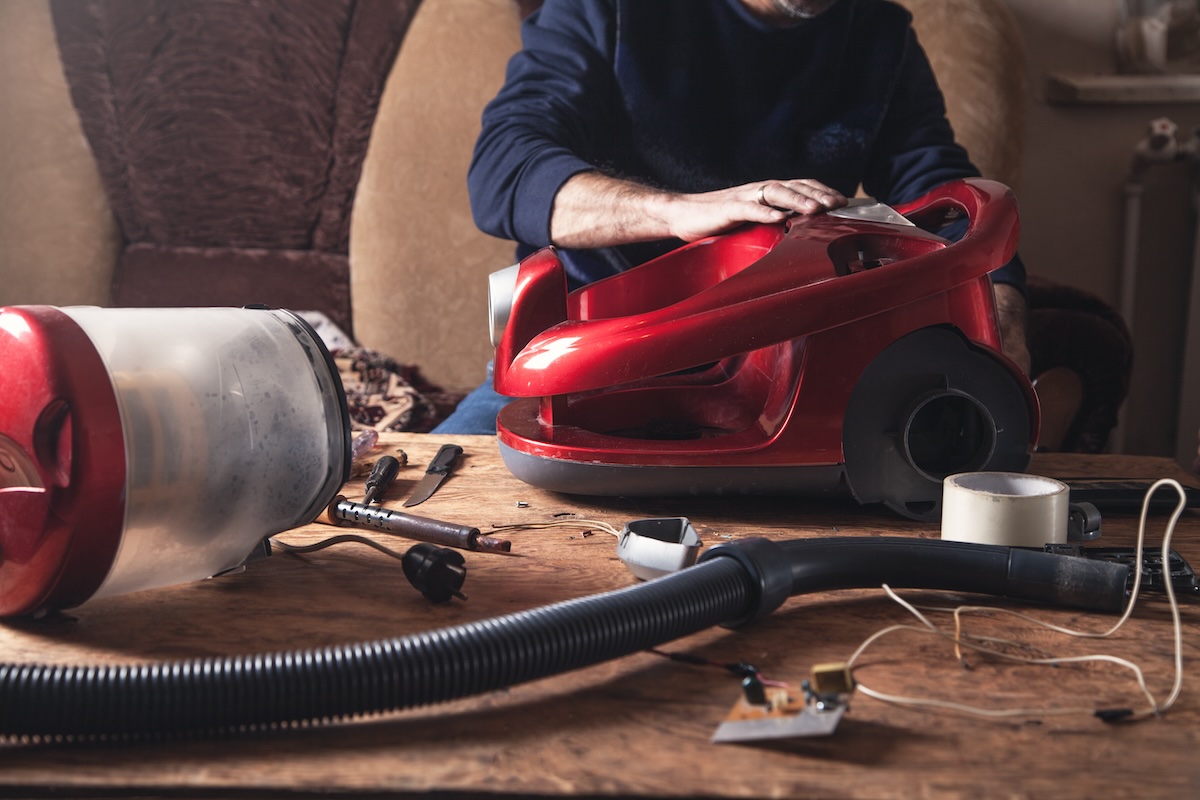
Many vacuums rely on small internal fans that sit just behind the motor and do most of the work of pulling air through the system. These fans spin at high speed and are made to handle normal dust and grit, but a hard object slipping past the brush head or hose can strike the blades at the wrong angle and crack them. When that happens, the vacuum still runs and often sounds completely normal, which is why people assume the motor is fine. In reality, the fan has lost the balance and surface area it needs to move air, so suction drops sharply even though everything appears to be working.
This is a straightforward fix for a vacuum repair shop because they can open the housing, inspect the fan, and replace the damaged part without guessing. For the average homeowner, it is almost impossible to confirm a fan failure unless the machine is disassembled, and most models are not designed to come apart easily without the right tools and experience.
How to Narrow Down the Source of the Problem

People often jump to the most complicated explanation first, but the best way to diagnose vacuum suction issues is to isolate each component.
- Turn the vacuum on and feel for suction directly at the motor intake if accessible.
- Then test again at the hose alone.
- Test at the brush head afterward.
Where the suction disappears is where the problem lives. If you cannot isolate it easily, that is usually a sign that multiple smaller issues may be stacking together. A repair shop can pressure test the unit, which gives a clear picture of what is obstructed, leaking, or underperforming.
When It’s Time to Bring the Vacuum Into the Shop for Repair
You can solve a surprising number of suction problems with simple cleaning and a few visual checks. But vacuums move a lot of air through surprisingly tight spaces, and small issues can behave like major failures.
Consider taking it to a trusted local vacuum repair shop if:
- You have cleaned every filter and confirmed no hose clogs.
- Suction disappears only under load, such as when the brush head touches the floor.
- The motor smells hot or changes pitch.
- You have replaced bags or filters repeatedly with no improvement.
- You find cracks or worn gaskets but cannot source the correct replacement parts.
A repair technician might see hundreds of these machines every year, sometimes several versions of the same model in a single week. So, they often build up an instinct for what each sound, smell, or airflow change usually means.

That’s why when you bring a vacuum in, they can often tell within minutes whether the problem is a loose seal, a clogged airway, a weakening motor fan, or a worn bearing that is dragging everything down.
What feels like a mystery at home becomes very straightforward in the hands of someone who spends every day opening these machines up and diagnosing the same handful of failure patterns. It also prevents unnecessary replacement of parts that still have plenty of life left in them, which saves money, and keeps a perfectly good vacuum out of the trash.
Tips to Help Keep Suction Strong After the Issue Has Been Fixed
Once the vacuum is working again, some simple good habits can make a big difference:
- Empty the bin or replace the bag before it reaches maximum capacity.
- Rinse washable filters regularly.
- Keep the brush roll clear of hair and string.
- Check hoses occasionally for soft spots or splits.
- Avoid vacuuming objects that can lodge perfectly in an elbow or connector.
A vacuum that runs but does not pull rarely has to be the end of the machine. Much of the time, it is an airflow issue waiting to be uncovered, whether it is a clog tucked just out of sight, a filter that has hardened with fine dust, or a small leak in a gasket that keeps the suction from forming the way it should. Vacuums may look simple from the outside, but the air paths inside them are narrow and rely on everything lining up perfectly. When something shifts even slightly, the machine can behave like it has lost all power even though the motor is still doing its job.
By the time you’ve emptied the bin, cleaned the filters, checked the hose, and gone over the brush head more than once, it is completely reasonable to hand the problem off to someone who works with these machines every day. A good local repair shop can give the vacuum a second life with a lot less frustration, because they know exactly where airflow tends to break down and how to bring it back without replacing parts that are still in good shape.